


TypeNiche
StylePlain
ColorWhite Primer
MaterialPolyurethane
Height27-1/2"
Width16-3/4"
Depth7-1/2"
Special InstructionsFits between wall studs
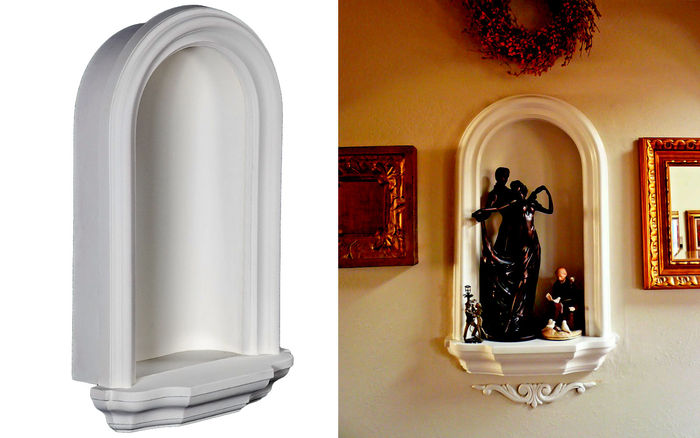
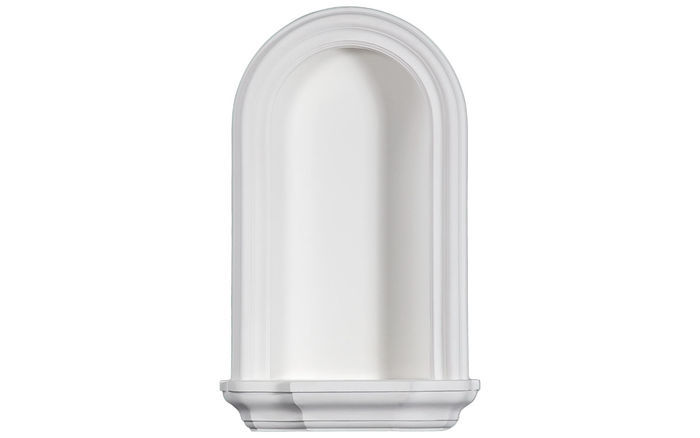
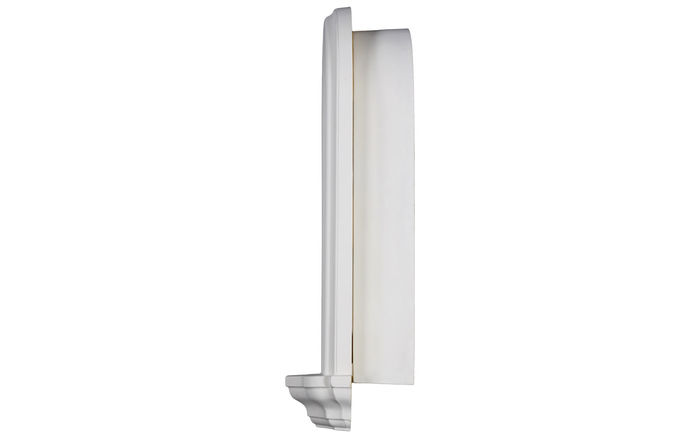
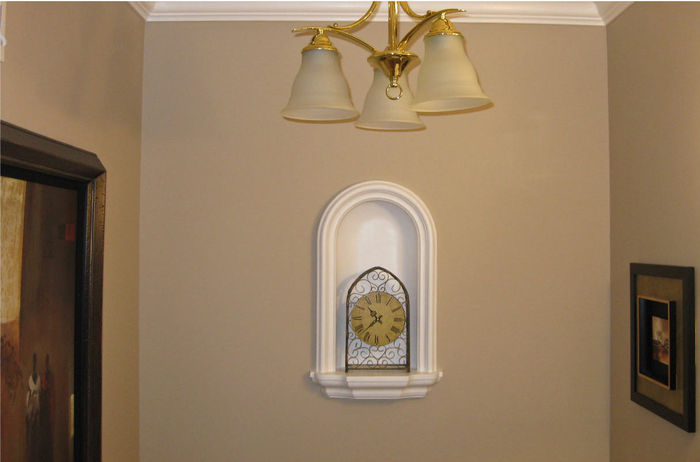
The NC-4006 Niche is 27-1/2" tall, 16-3/4" wide, and 7-1/2" deep, with a white Primer finish.
Required Size of the Hole in the Wall: 23 3/4" H x 12 1/2" W x 3 3/4" D
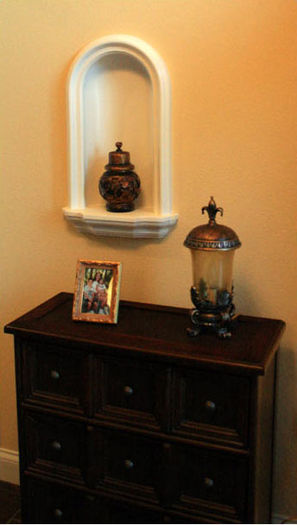
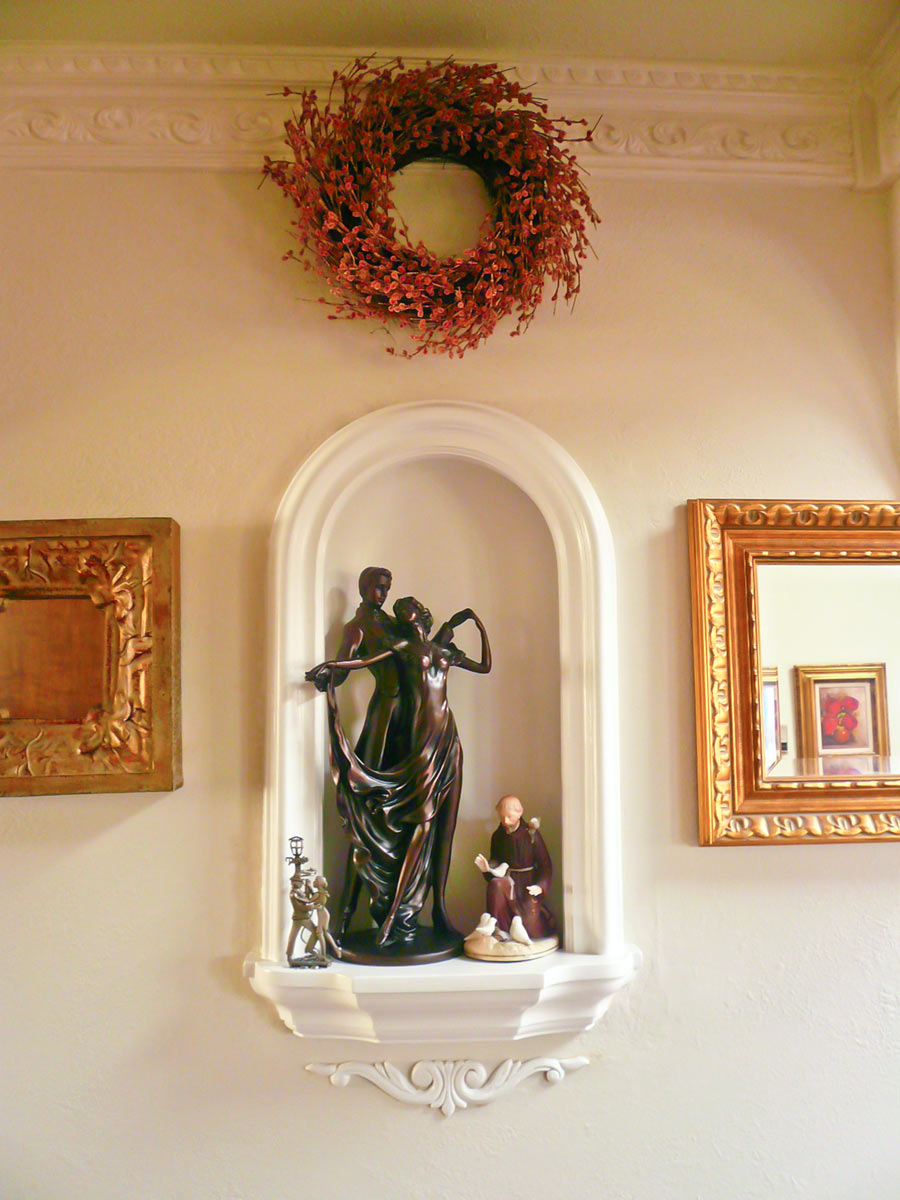
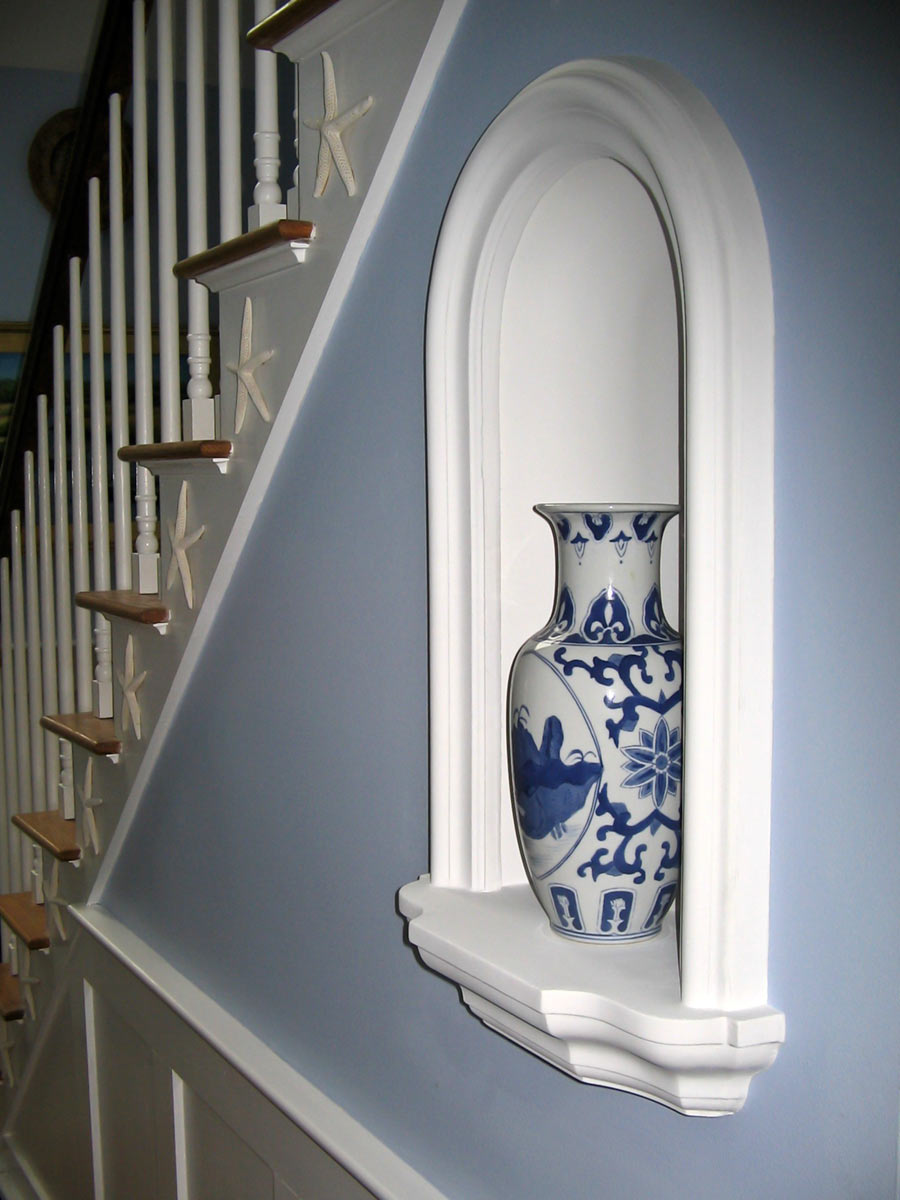
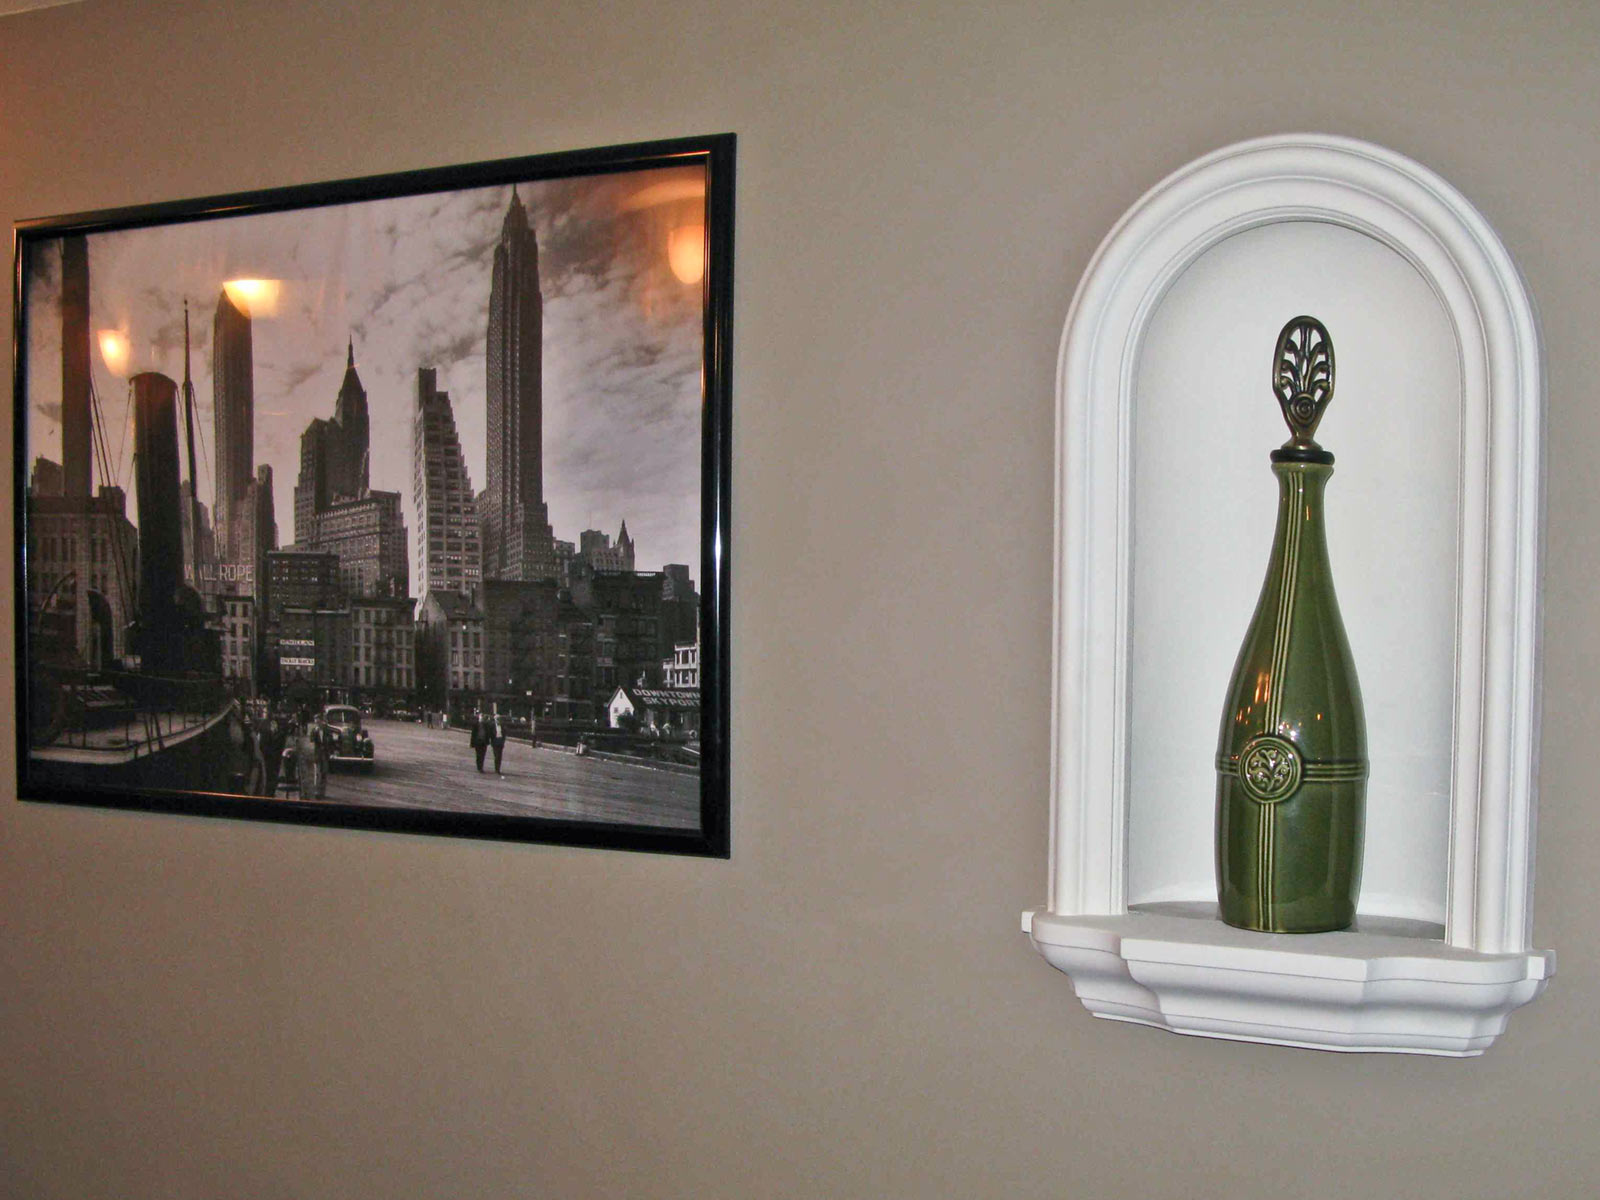
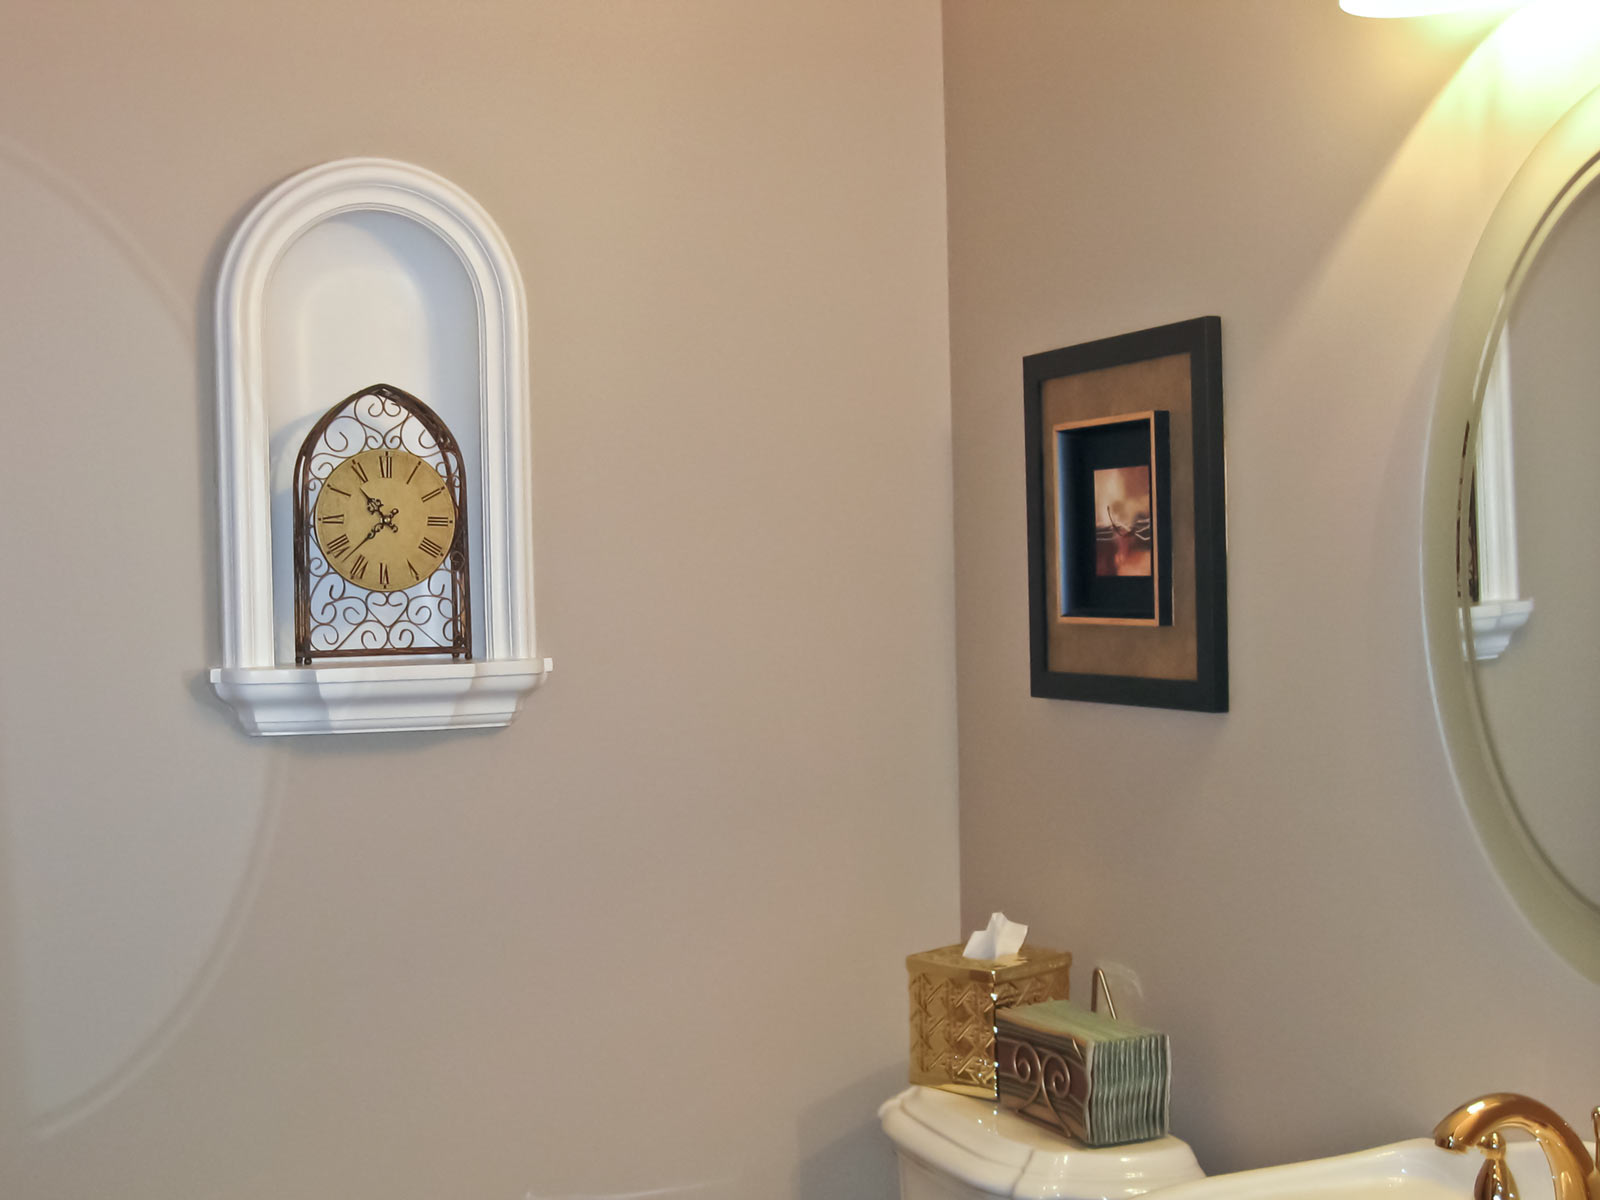
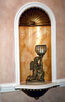
Niches are perfect for displaying a favorite statue or vase while adding interesting architectural elements to any area of a room. Our surface mount niches don't require any modification to existing structure to be installed while our traditional niches will need to have space cleared behind them.
uDecor accent features are manufactured with a dense architectural polyurethane compound (not Styrofoam) that allows it to be very durable and 100% waterproof. This material is delivered pre-primed for paint. It is installed with architectural adhesive and/or finish nails. It can also be finished with caulk, Spackle and your choice of paint, just like wood or MDF. A major advantage of polyurethane is that it will not expand, contract or warp over time with changes in humidity. It's safe to install in rooms with the presence of moisture like bathrooms and kitchens. This product will not encourage the growth of mold or mildew, and it will never rot.

Painting-
It is easier to paint the decor before installation. Touch up any imperfections after you are done with the install. ALWAYS test a section with your paint of choice before committing to painting all of your decor. Paint formulations change all the time and you want to be sure there is no adverse interaction between your paint and the primer on the decor.
Installation Tip-
Use a stud finder to determine where the studs boundaries are. Cut a small hole first that will allow you to peer inside the wall space to make sure there are no water, gas, or electrical obsticals.
Finishing The Job-
Use Spackle to fill in nail holes or seams and painters caulk on the edges for a professional finish.
25 Year Limited Warranty
You're making a beautiful upgrade to your home and we're here to help protect that investment. We guarantee that your polyurethane millwork will be free from manufacturing defects for twenty-five years from the original date of purchase.
Warranty Conditions and Limitations
This warranty covers material defects in our polyurethane products when used in standard applications where temperatures do not exceed 150°F. It does not cover labor, consequential or incidental damages. This warranty is not transferable and applies to the original purchaser only.
We're Ready to Help
Unlike a car, not much can go wrong with a polyurethane product since polyurethane doesn't absorb moisture and won't be affected by insects. However, in the rare event that you do encounter a defect with your product, we're here and ready to help. Just give us a call and we'll work with you to identify the problem and, in case of defect, supply you with replacements.
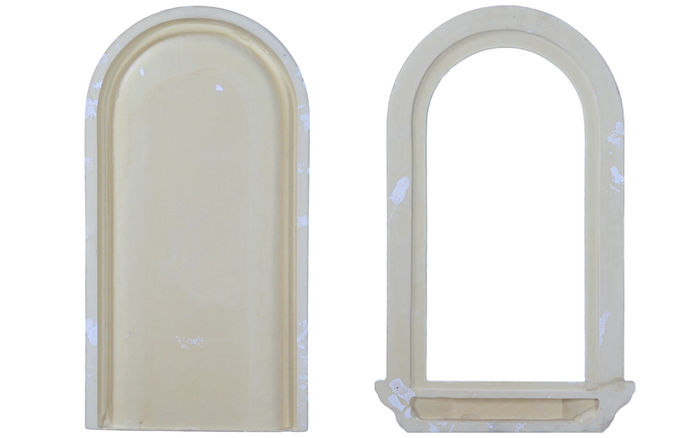
Our NC-4006 Niche is one of our most popular niches. Because of the unique design and size, it is very easy to install. The NC-4006 requires no additional depth other than that of a standard 2x4 wall. The NC-4006’s depth in wall is only 3 ½”.
Most homes are framed with the wall studs on 16” centers. This leaves 14 ½” of space between the studs. The NC-4006’s in wall width is 12 ¼”.
Locate the area where you would like to install your niche. Use a stud finder to determine where the studs boundaries are. Hold the back part of the niche up against the wall, making sure you are between the studs and using a level to keep the niche straight, trace the outline of the back onto the wall with a pencil. This will be your cut line.
Be careful if you are using power tools to cut the sheet rock. Set the depth of the cutter just deep enough to get through the sheetrock.
Remove any insulation that is in the immediate way. Most of the time you will be able to pack the insulation down to clear enough space for the niche. If you remove the sheetrock and find that there are water lines or electrical lines in the way you may want to reconsider the location. Sometimes electrical wire (romex) may provide enough slack to move out of the way, but if the lines are covered in cloth insulation (very old) DO NOT TOUCH THEM! You can use the piece you cut out to patch the wall back up if you seek a new location for the niche. If you are set on that location but run into obstacles, seek qualified help that will be able to resolve the issues allowing installation to proceed.
Using a polyurethane appropriate adhesive, glue the back of the niche to the face of the niche. Allow this to dry.
After the assembled pieces have dried, apply a ¼” bead of adhesive to the back side of the fascia and place the niche into the opening. Press the fascia to the wall making sure that the adhesive makes contact with the wall. Place a level on the shelf to insure the niche is level. Allow adhesive to dry.
Use a paintable caulking around the outer edge to create a seamless transition. Touch up with paint as needed.
4


Was not crazy about the primer pilling off but other then that I'll happy with it.